
Classes organize teaching, discipleship, Bible studies, youth activities, and children’s ministry while keeping enrollment and attendance together.
Create a class
- Open Classes.
- Select New Class.
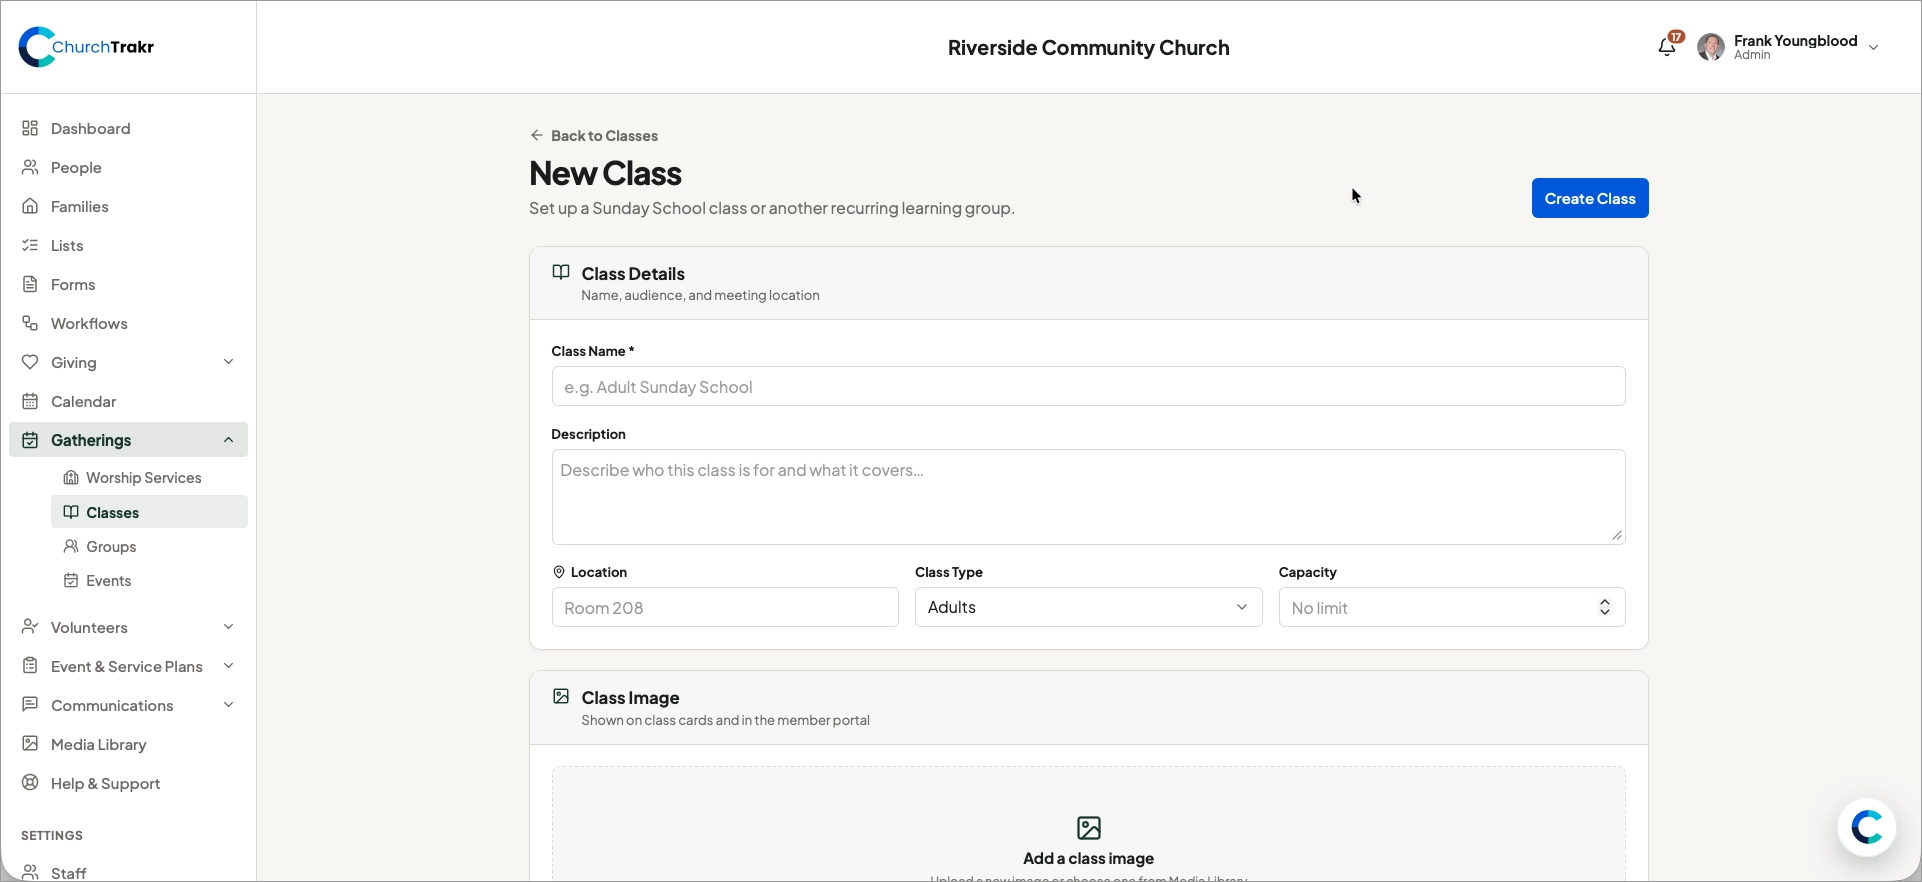
Class Details
- In the Class Details area, enter the class name and an optional description.
- Choose a type: Adults, Children, Youth, Bible Study, Discipleship, or Other.
- Add the location, start date, start time, and end time.
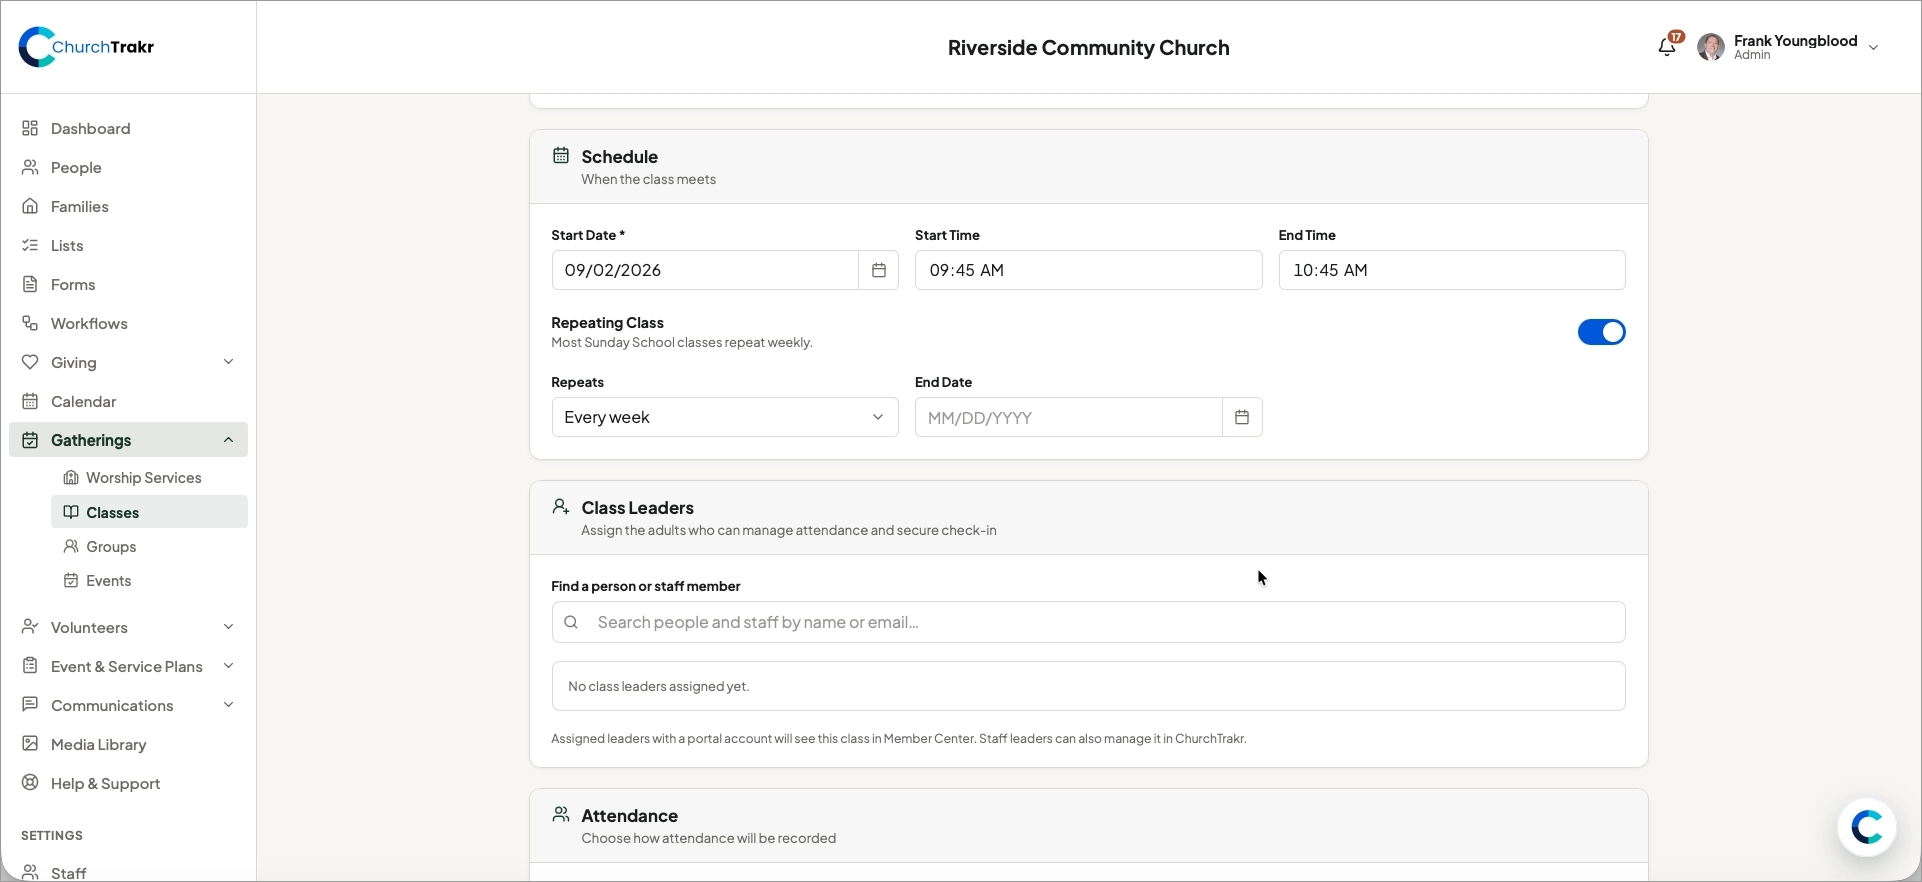
- If it repeats, choose Weekly, Every Other Week, or Monthly and enter an optional ending date.
- Set a capacity if needed.
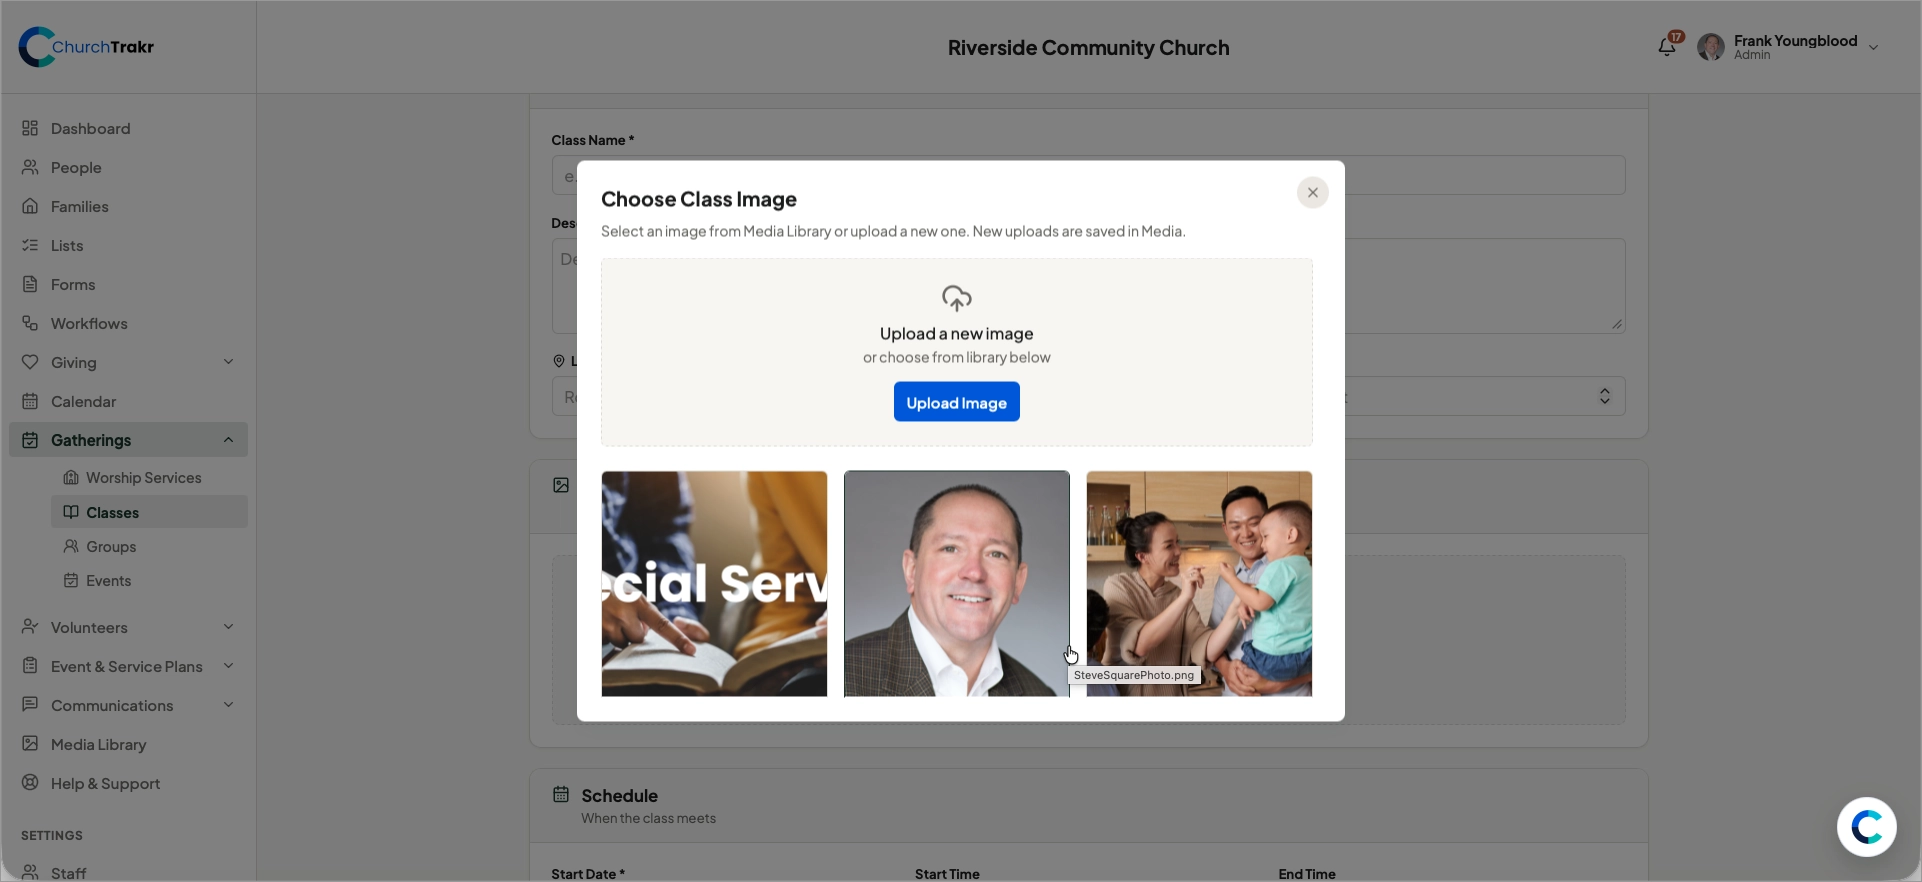
Class Image
In the Class Image area, you can choose a picture for the banner on your Class page.
Schedule
- The next area is Schedule. Here you set when the class starts (enter date or use the date picker), set the start and end time and then choose how it repeats.
- And End Date is optional.
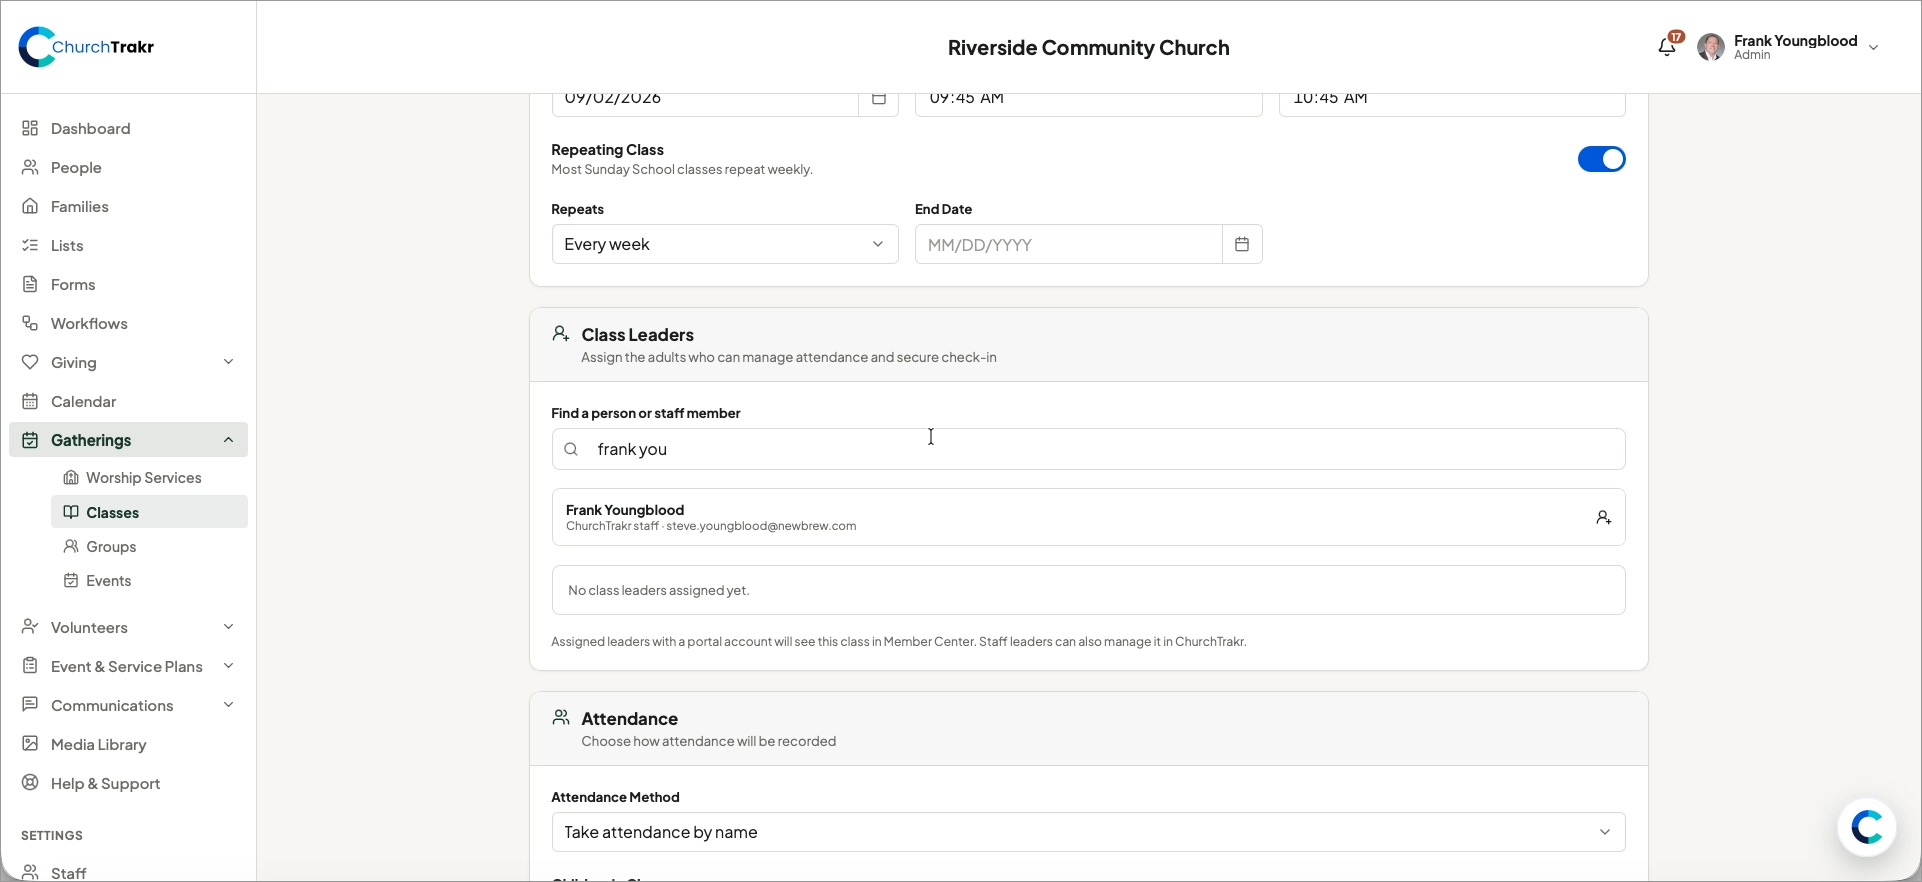
Class Leadership
You will want to assign a class leader or leaders. This let’s people who are in the class know who they can reach for questions. It also allows chosen leaders to login through the church portal and take attendance.
Attendance
In Attendance, you can choose how attendance is to be taken. By Attendance by Name, Record by Headcount Only, or Secure Children’s Check-In.
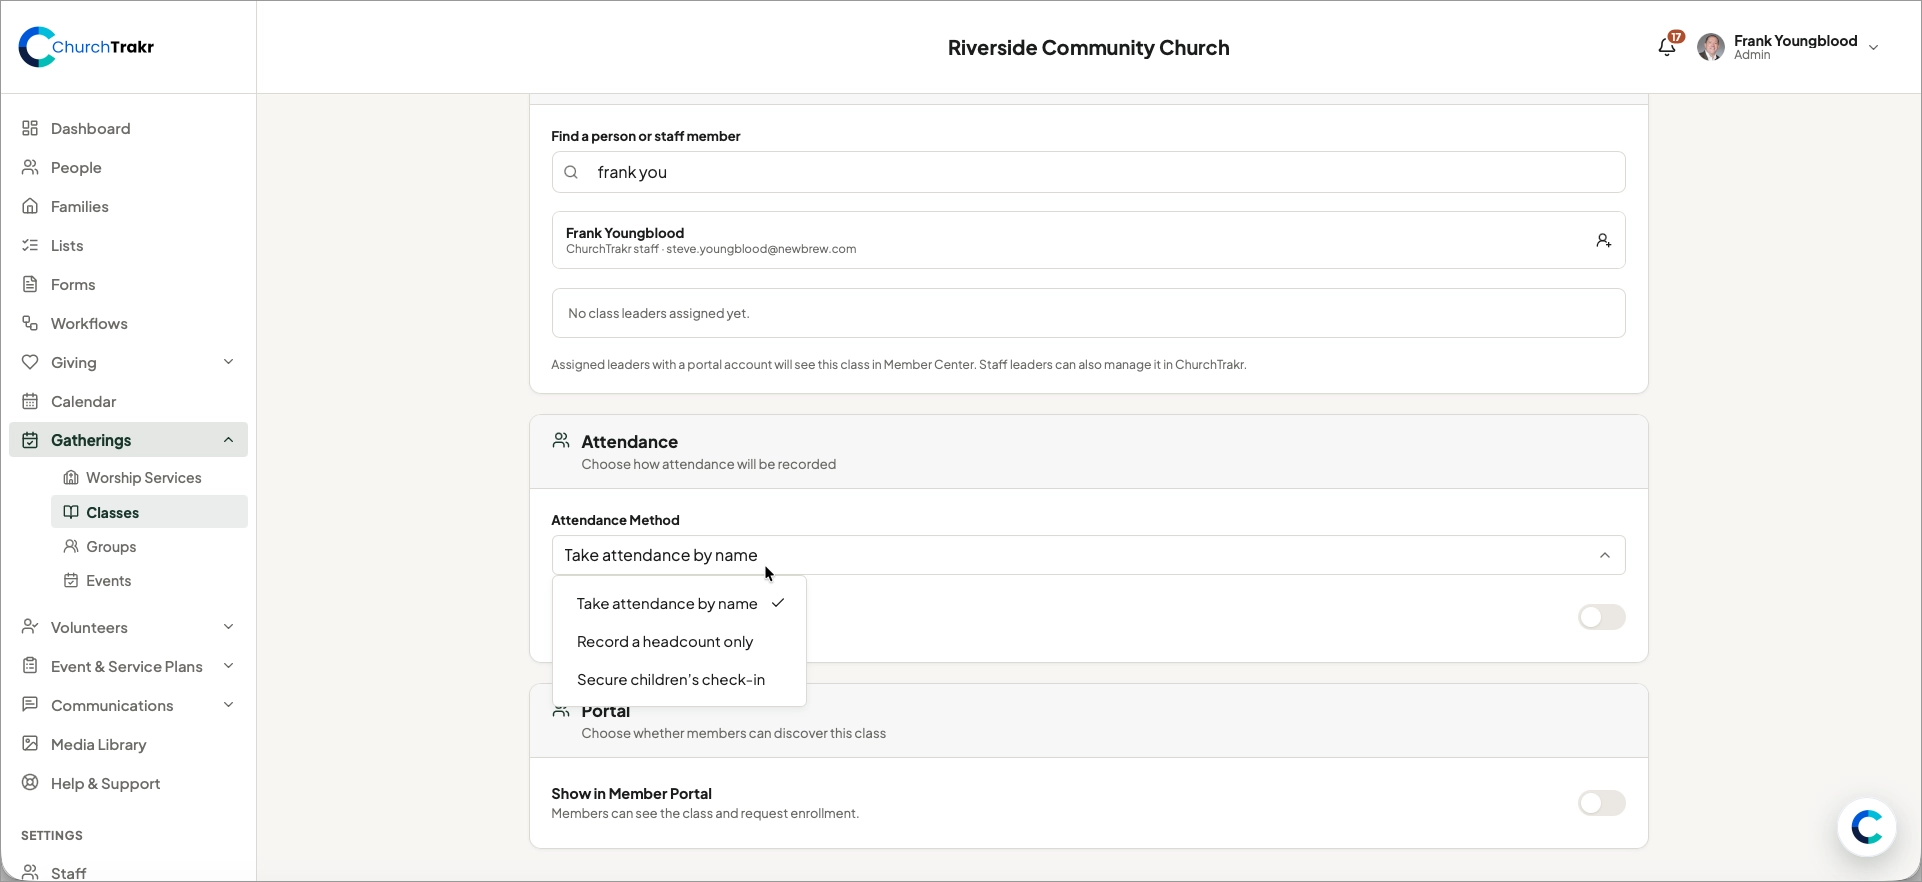
Turn on Show in Member Portal if members should be able to see the class and request enrollment. This also enables class leaders to login to the portal to take attendance
To save the class with the information you’ve entered, Select the blue Create Class button.